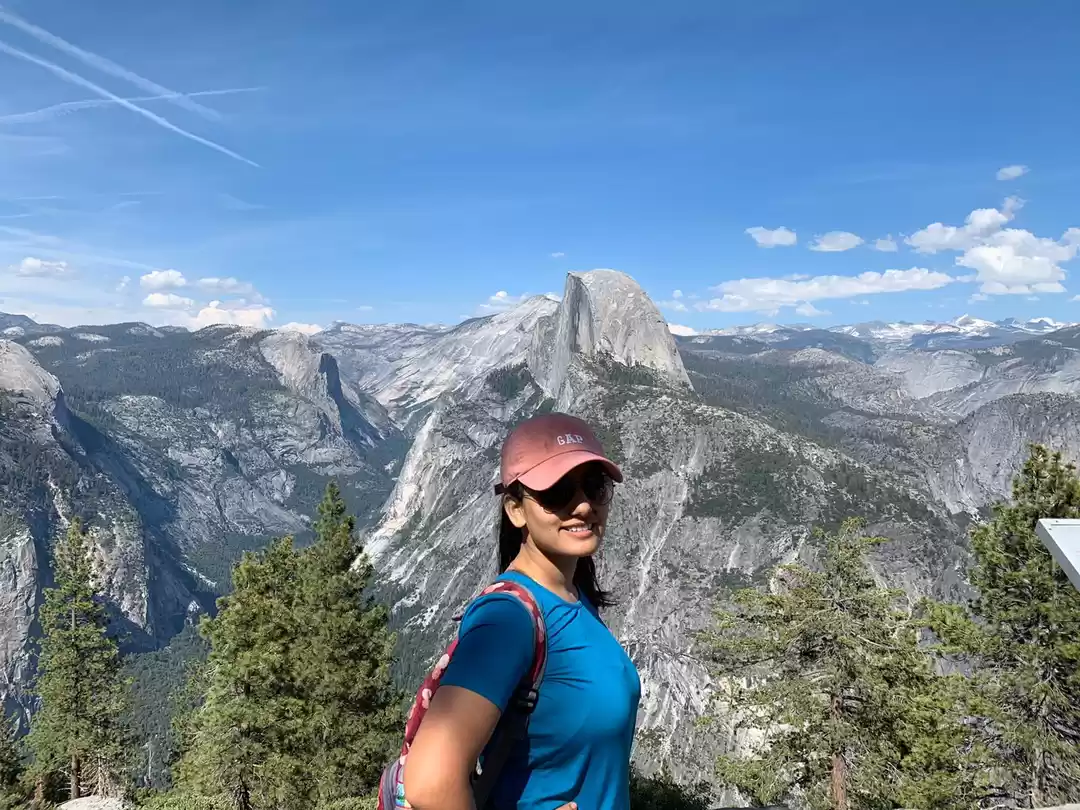
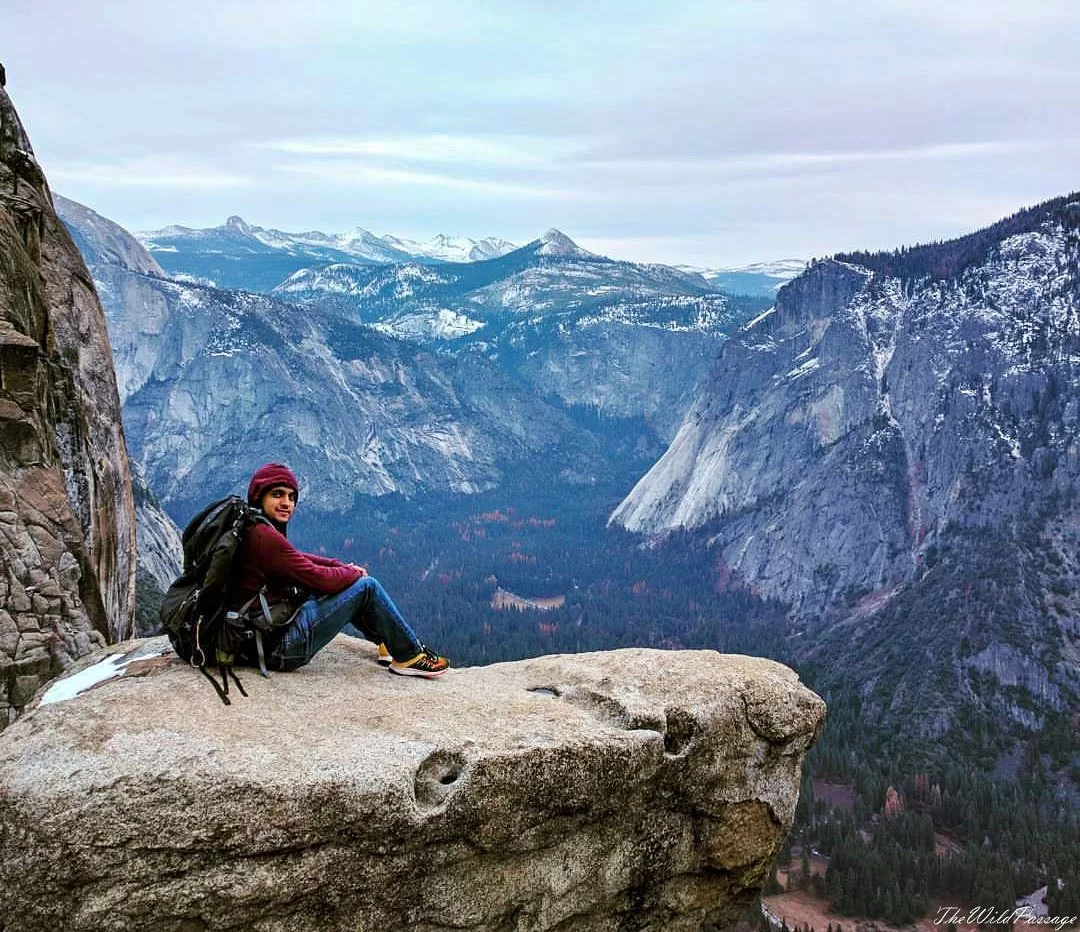
Yosemite is a beautiful outdoors travel destination for any hiker, camper, or anyone who just loves the outdoors. That's why I wanted to create a guide for the best hikes in Yosemite and make it easier for you to find a great adventure that fits your abilities.
There are quite a few ways to rank the trails in Yosemite but most people I talk to about hiking are concerned with the difficulty. Many trails have great scenery and give awesome views of nature, but it's a bit of a deal breaker if the trail will have you crawling half way through. In addition, we're going to focus on the Yosemite Valley area for trails.
So here are the best hikes in Yosemite ranked by difficulty!
Mirror Lake Trail
![Photo of Best Hikes In Yosemite National Park [HIKING GUIDE] - ViraFlare 1/19 by ViraFlare](https://static2.tripoto.com/media/filter/nl/img/1747967/TripDocument/1571267316_deswfewf_517x365.jpg)
Distance: 2.3 (3.2km) miles round trip to lake and back. 5 (8km) miles if you go around the lake
Elevation Gain: 100 feet
Difficulty: Easy
Time: 1 hour round trip; 2-3 hours if you loop around the lake.
This is a simple trail that takes you to a wonderful view of the lake. It has great foliage and atmosphere! It's not difficult and has very low elevation gain as well. Getting to the trailhead is also simple as you can take the valley shuttle service and the trailhead for Mirror Lake starts at stop #17.
Conveniently, this trail is also open year round as it's a fairly simple trail and is safe as long as you don't wander off trail.
Below is a view of the trail and notice that reaching mirror lake doesn't require you to hike the entire trail.
![Photo of Best Hikes In Yosemite National Park [HIKING GUIDE] - ViraFlare 2/19 by ViraFlare](https://static2.tripoto.com/media/filter/nl/img/1747967/TripDocument/1571267319_000mirrorlaketrail_639x365.jpg)
Sentinel/Cooks Meadow Loop
![Photo of Best Hikes In Yosemite National Park [HIKING GUIDE] - ViraFlare 3/19 by ViraFlare](https://static2.tripoto.com/media/filter/nl/img/1747967/TripDocument/1571267321_io32rbkq3_487x365.jpg)
Distance: 1 (1.6km) miles round trip
Elevation Gain: None, trail is flat
Difficulty: Easy
Time: 30 minutes
This is a very easy trail that offers great views of the valley and some of Yosemites notable landmarks. Getting there is similar to Mirror Lake as it can be accessed by the shuttle that runs through Yosemite Valley. Simply take the shuttle to stop 5 or 9 and you'll find yourself at the trailhead!
Overall this trail is fairly easy to manage and is open year round (may be snow covered in the winter though) and is welcoming to pets, bicycles, and strollers.
![Photo of Best Hikes In Yosemite National Park [HIKING GUIDE] - ViraFlare 4/19 by ViraFlare](https://static2.tripoto.com/media/filter/nl/img/1747967/TripDocument/1571267323_00030sentinel_trailmap_505x365.png)
Lower Yosemite Falls
![Photo of Best Hikes In Yosemite National Park [HIKING GUIDE] - ViraFlare 5/19 by ViraFlare](https://static2.tripoto.com/media/filter/nl/img/1747967/TripDocument/1571267327_cliffs_conifer_daylight_415976_548x365.jpg)
Distance: 1 (1.6km) miles round trip
Elevation Gain: About 15ft
Difficulty: Easy
Time: 30 minutes
This hike is more of a scenic walk aimed at viewing the awesome 320 foot waterfall that is awe inspiring and a beautiful roaring monster in the spring.
The trail can be accessed by walking from the visitor center, or to save energy, you can reach it by taking the shuttle to stop 6 and getting off there. It's recommended to walk the trail clockwise so you can get the best views as you hike and not have to turn around.
The Lower Yosemite Falls trail is also open year round but it's definitely better to see in the spring and early summer when all the ice and snow melts.
![Photo of Best Hikes In Yosemite National Park [HIKING GUIDE] - ViraFlare 6/19 by ViraFlare](https://static2.tripoto.com/media/filter/nl/img/1747967/TripDocument/1571267329_loweryosemitefalls_660x349.jpg)
Columbia Rock
![Photo of Best Hikes In Yosemite National Park [HIKING GUIDE] - ViraFlare 7/19 by ViraFlare](https://static2.tripoto.com/media/filter/nl/img/1747967/TripDocument/1571267332_columbiarock_548x365.jpg)
Distance: 1.3 miles round trip
Elevation Gain: 950ft
Difficulty: Moderate
Time: 1.5 - 2.5 hours
Now we get into the meat of hiking with a slightly more challenging hike. Columbia Rock isn't the hardest of hikes but it is in the middle of our list concerning difficulty. That being said, there is a risk/reward take away. The hike is more difficult than the previous but the views are that much more rewarding.
The trailhead is located at the Sunnyside campground and can be reached by taking the valley shuttle to stop 7 and taking a short quarter mile hike to the trailhead.
![Photo of Best Hikes In Yosemite National Park [HIKING GUIDE] - ViraFlare 8/19 by ViraFlare](https://static2.tripoto.com/media/filter/nl/img/1747967/TripDocument/1571267334_columbiarockmap_536x365.jpg)
For more information, check out this guide!
The Mist Trail
![Photo of Best Hikes In Yosemite National Park [HIKING GUIDE] - ViraFlare 9/19 by ViraFlare](https://static2.tripoto.com/media/filter/nl/img/1747967/TripDocument/1571267336_misttrailimg_633x365.jpg)
Distance: 3 (4.8km) miles round trip
Elevation Gain: 1,000ft
Difficulty: Moderate
Time: 12 - 5 hours (depends on how far you hike)
Moving along, we're getting to the better known trails in Yosemite. They're more widely known since most of those beautiful pictures you see of Yosemite are taken on these trails. The views you get to experience the higher you hike are phenomenal! But, with more time on a trail, comes more time needed for preparation. Make sure you're fit enough for a 5 hours hike and able to carry necessary water to finish.
To start, you can get to the trailhead at Happle Isles near shuttle stop 16. There is a little bit more to it obviously so I'll leave it to this guide to better explain the journey and a trail map below!
![Photo of Best Hikes In Yosemite National Park [HIKING GUIDE] - ViraFlare 10/19 by ViraFlare](https://static2.tripoto.com/media/filter/nl/img/1747967/TripDocument/1571267339_misttrail_611x365.jpg)
4 Mile Trail
![Photo of Best Hikes In Yosemite National Park [HIKING GUIDE] - ViraFlare 11/19 by ViraFlare](https://static2.tripoto.com/media/filter/nl/img/1747967/TripDocument/1571267341_hari_nandakumar_1294725_unsplash_448x365.jpg)
Distance: 4.8 (7.7km) to Glacier Point. 9.6 mi round trip
Elevation Gain: 3,200ft
Difficulty: Very Difficult
Time: 3 - 4 hours one way; 6 - 8 hours round trip
If you're well acquainted to difficult hikes and aren't new to outdoors trekking, I highly recommend this trail. It combines quite a few of Yosemites best scenic areas all on one trail. By the time you reach the top, you'll have an amazing view of Yosemite Falls, Sentinel Dome, El Capitan, and Half Dome.
The trail starts at the base of Sentinel Rock and even more conveniently, if the hike wore you out and you don't want to get noodle legs and hurt your knees going down, then there's a shuttle that can take you back down!
There is a bit of information on this trail so please check out this resource for more information and see the trail map below!
![Photo of Best Hikes In Yosemite National Park [HIKING GUIDE] - ViraFlare 12/19 by ViraFlare](https://static2.tripoto.com/media/filter/nl/img/1747967/TripDocument/1571267344_4miletrail_660x350.jpg)
Half Dome
![Photo of Best Hikes In Yosemite National Park [HIKING GUIDE] - ViraFlare 13/19 by ViraFlare](https://static2.tripoto.com/media/filter/nl/img/1747967/TripDocument/1571267346_halfdome_548x365.jpg)
Distance: 17 miles
Elevation Gain: 8,842ft
Difficulty: Very Difficult
Time: 10 - 14 hours
Half Dome is one of the most iconic sites in Yosemite National Park. Thankfully you don't have to take the same way up Alex Honnold would and there's a trail that you can reserve a spot on that is strenuous, but worth the hike. It also makes a lot of Yosemite Valley visible and offers some of the best scenic views in the park.
For more information, check out the information to not just learn more about the trail, but also find out how to get a permit.
![Photo of Best Hikes In Yosemite National Park [HIKING GUIDE] - ViraFlare 14/19 by ViraFlare](https://static2.tripoto.com/media/filter/nl/img/1747967/TripDocument/1571267349_halfdomemap_604x365.jpg)
TIPS FOR HIKING IN YOSEMITE NATIONAL PARK
The best times to visit are spring and early summer, especially if you're looking to see the waterfalls. Come prepared, even short hikes can still take time and you should always have proper hiking gear, food, water, and a way to contact for help in worse case scenarios. Try to avoid visiting on weekends and holidays. The park can become crowded quickly and going during the low times will alleviate the stress of too many people. Carry a small bag for trash with you! Many people comment on "taking care of our parks in America", but honestly, take care of everywhere! Don't leave trash in the wild and never leave with less than you came with. Always research possible wildlife and how to handle it. This article can't cover all the information to staying safe and you should consult a park ranger or wildlife expert to make sure you're prepared.Want to share this post? Feel free to use one of the images below!
![Photo of Best Hikes In Yosemite National Park [HIKING GUIDE] - ViraFlare 15/19 by ViraFlare](https://static2.tripoto.com/media/filter/nl/img/1747967/TripDocument/1571267351_0000000yosemitenationalparks_243x365.png)
![Photo of Best Hikes In Yosemite National Park [HIKING GUIDE] - ViraFlare 16/19 by ViraFlare](https://static2.tripoto.com/media/filter/nl/img/1747967/TripDocument/1571267354_0000pinimgageyosemite_243x365.png)
![Photo of Best Hikes In Yosemite National Park [HIKING GUIDE] - ViraFlare 17/19 by ViraFlare](https://static2.tripoto.com/media/filter/nl/img/1747967/TripDocument/1571267358_0000yosemitepinimg2_243x365.png)
![Photo of Best Hikes In Yosemite National Park [HIKING GUIDE] - ViraFlare 18/19 by ViraFlare](https://static2.tripoto.com/media/filter/nl/img/1747967/TripDocument/1571267361_0000yosemoitepintiner_243x365.png)
![Photo of Best Hikes In Yosemite National Park [HIKING GUIDE] - ViraFlare 19/19 by ViraFlare](https://static2.tripoto.com/media/filter/nl/img/1747967/TripDocument/1571267364_00000yosemitepintimgsgs_243x365.png)

