Bucket List Diaries: Trek to Tiger’s Nest
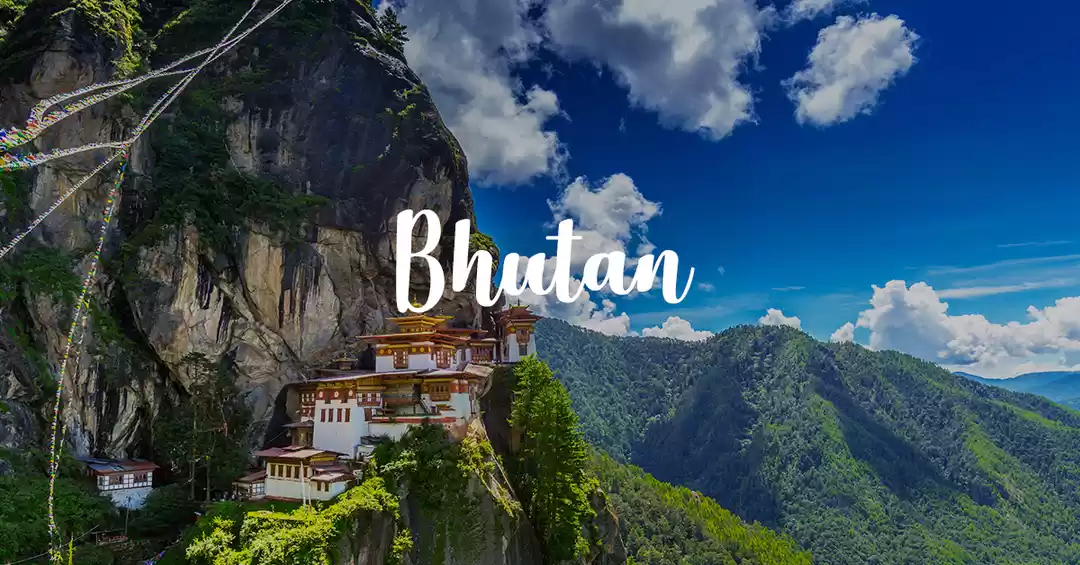
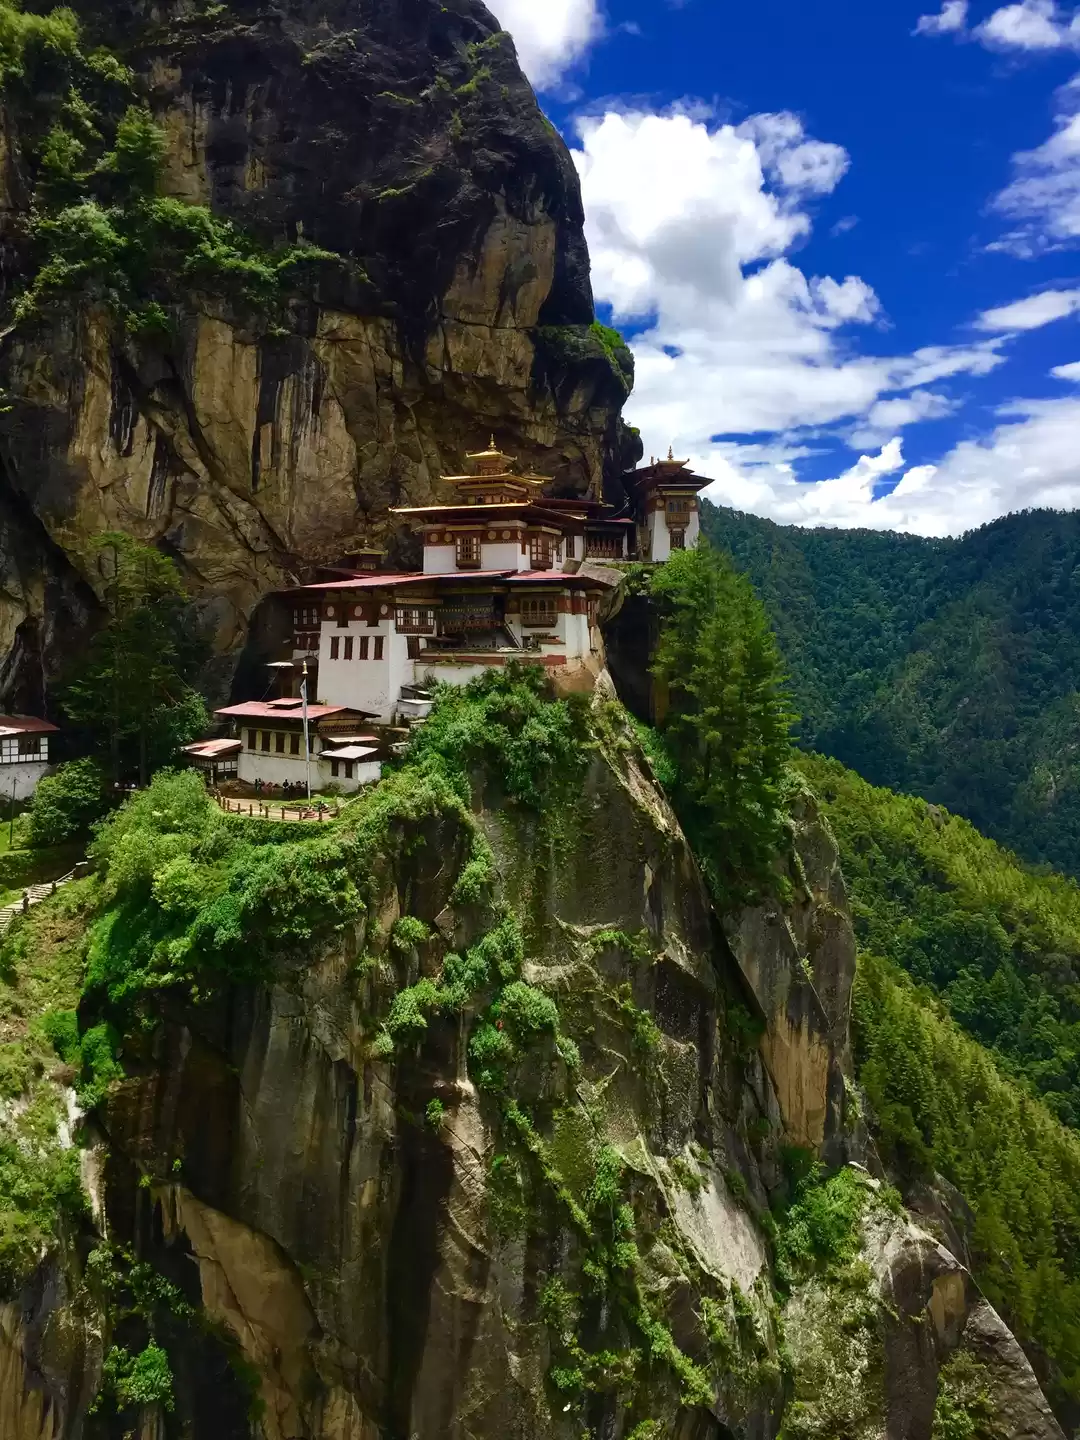
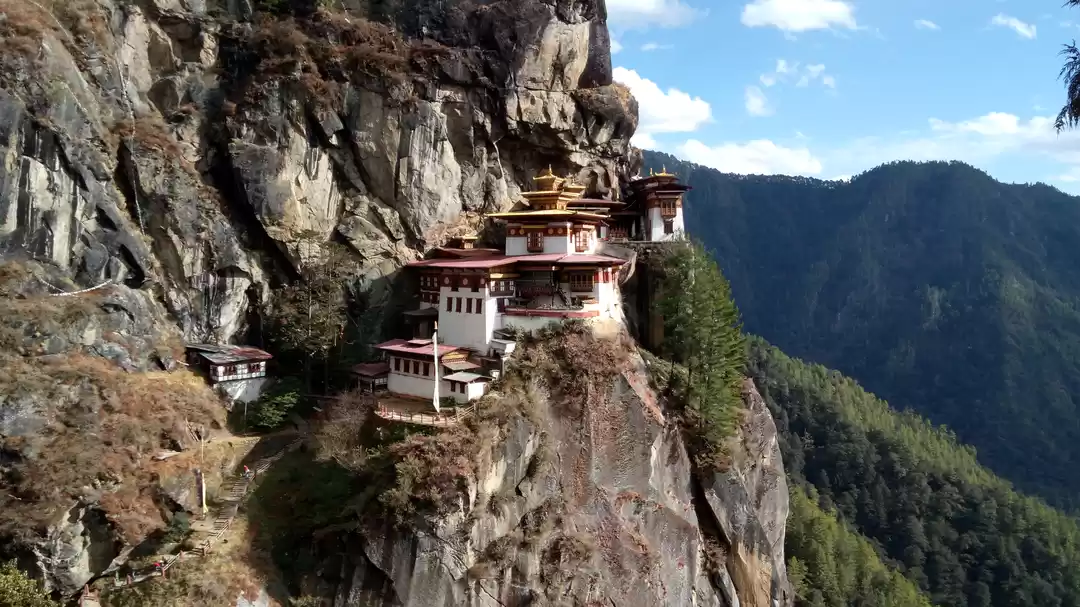
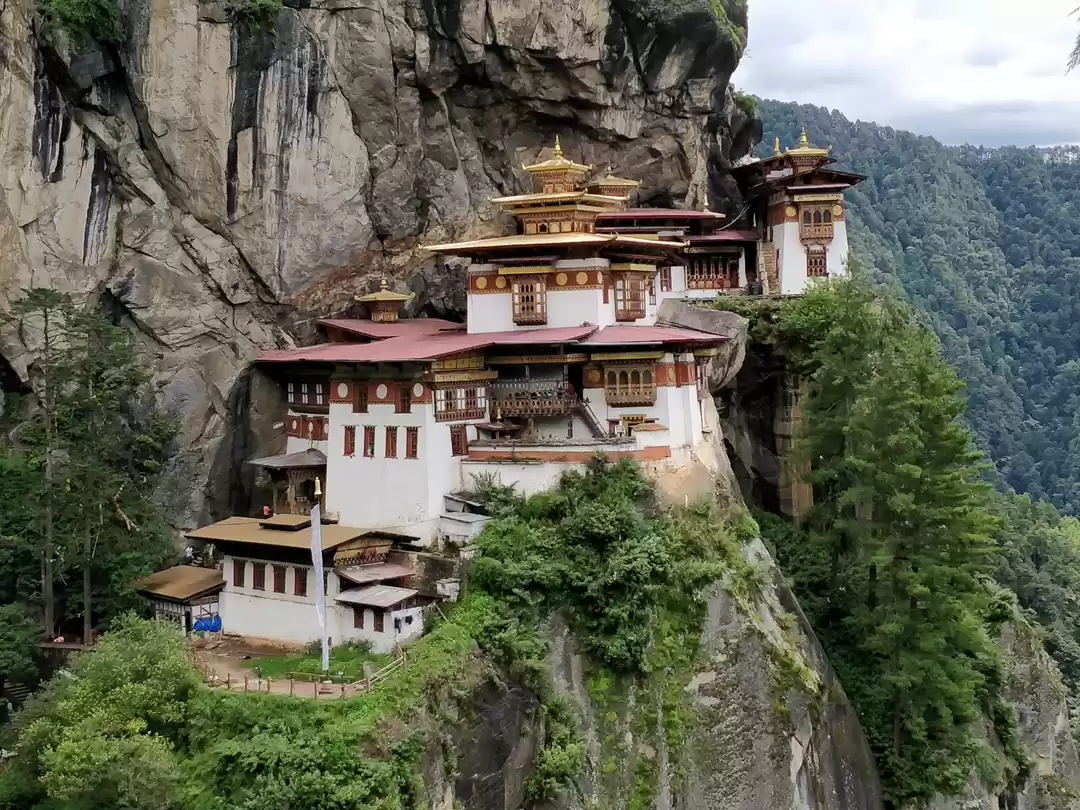
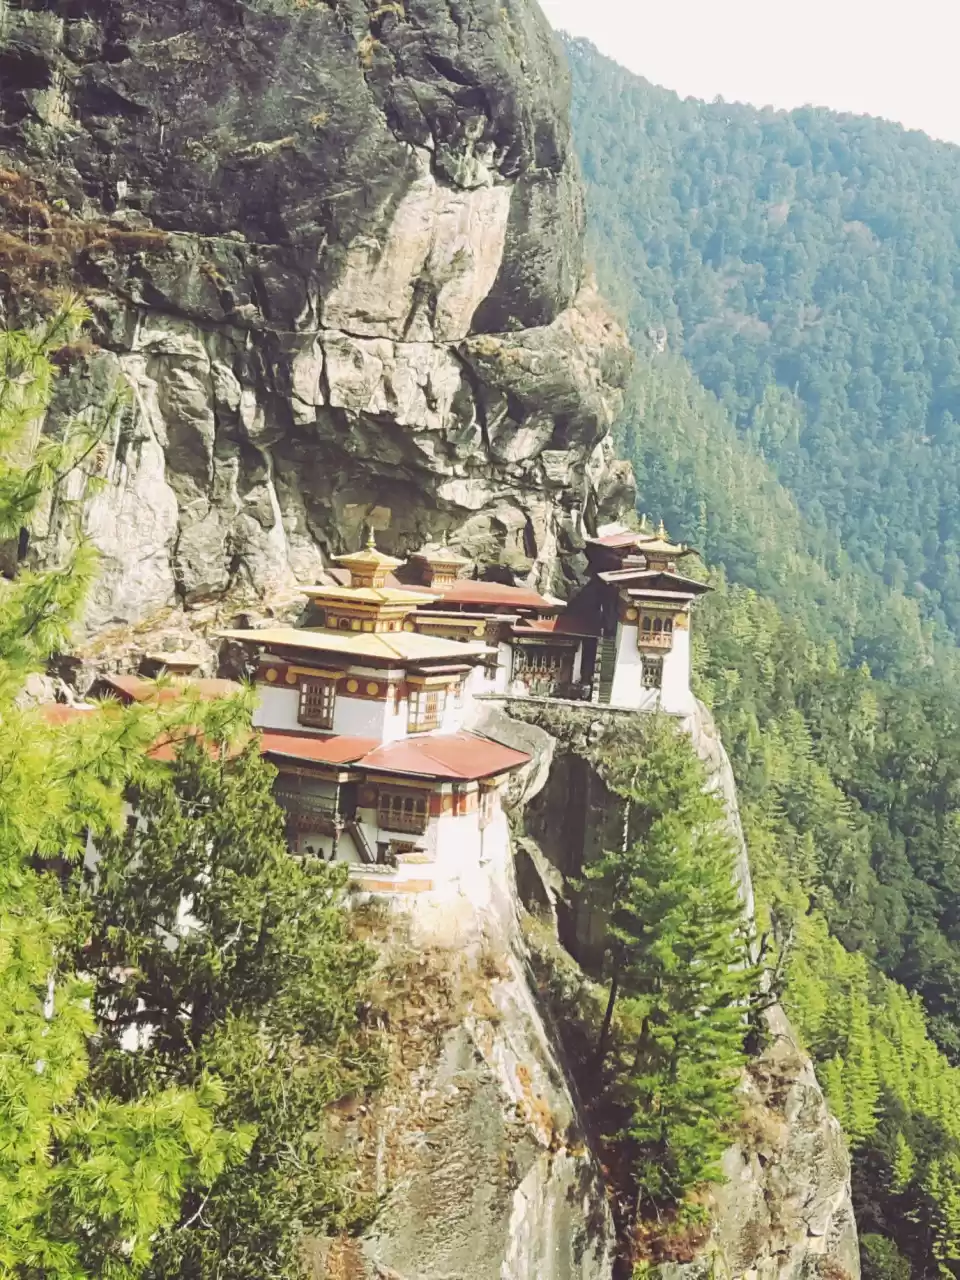
Bhutan and Tiger’s Nest are synonymous with each other – I planned the entire Bhutan trip keeping this trek as the center piece. Perched on a cliff, the thought of walking all the way up to the monastery is quite daunting, and at the same time, exciting!
Reaching the Place
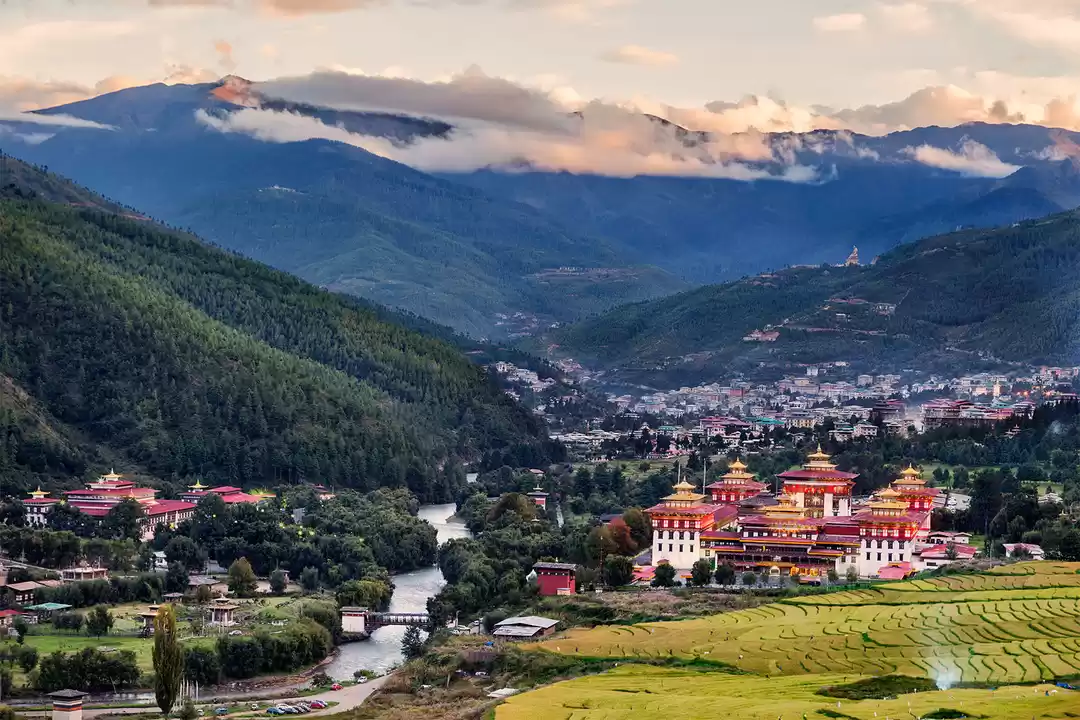
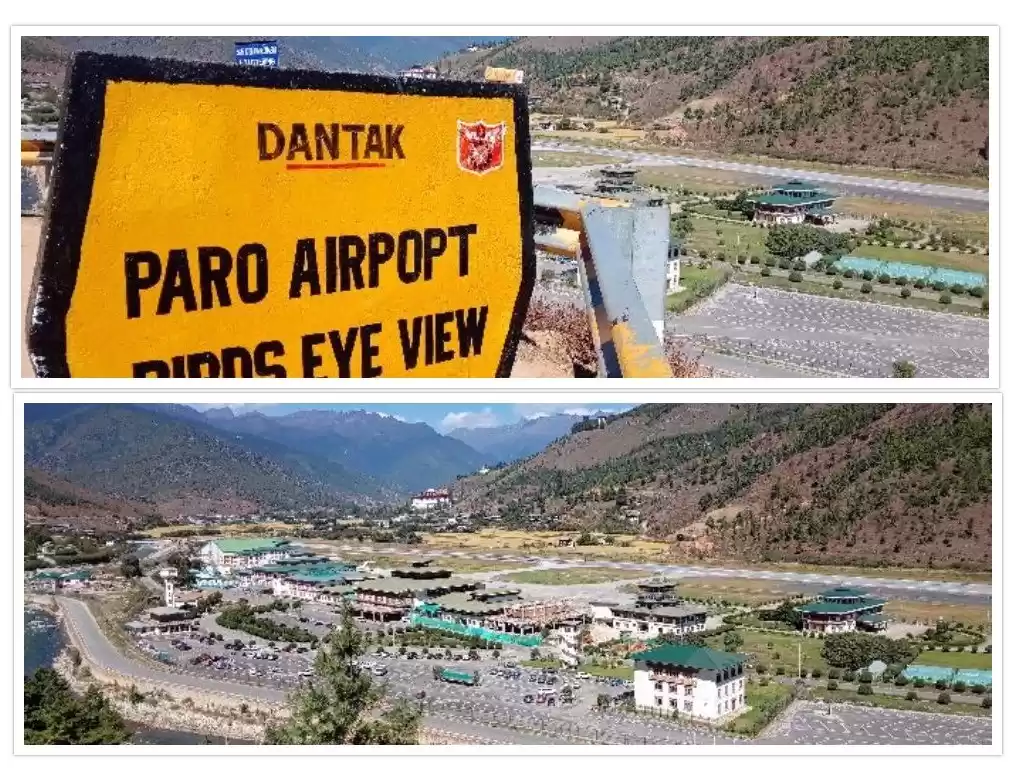
We stayed at Paro, since the starting point to this trek is just a 20 minute drive from there.
An entire day was kept aside for the trek, since we wanted to do it at our own pace. We had rented a car, and the driver dropped us off at the Base.
Essentials for the Trek
We over-shopped a bit and bought energy drinks, chocolates, glucose and what not! None of this is required since all that my body craved for during the trek was water. My backpack consisted of two small bottles of water, a head-band to cover my ears (does get a bit cold in the shade, and this was during December), a pair of shades and my Camera.
Starting the Trek
The “Base Camp” has vendors renting out trekking poles for 50bucks. I don’t know if I could have completed the trek without this pole. It was like an extra limb, taking off the stress from my knees - it is a lifesaver! I saw people getting onto ponies (or Jackass?) to take them from the base point – though this would not be for the entire journey. The difficult parts would still need to be covered on foot.

The Trek
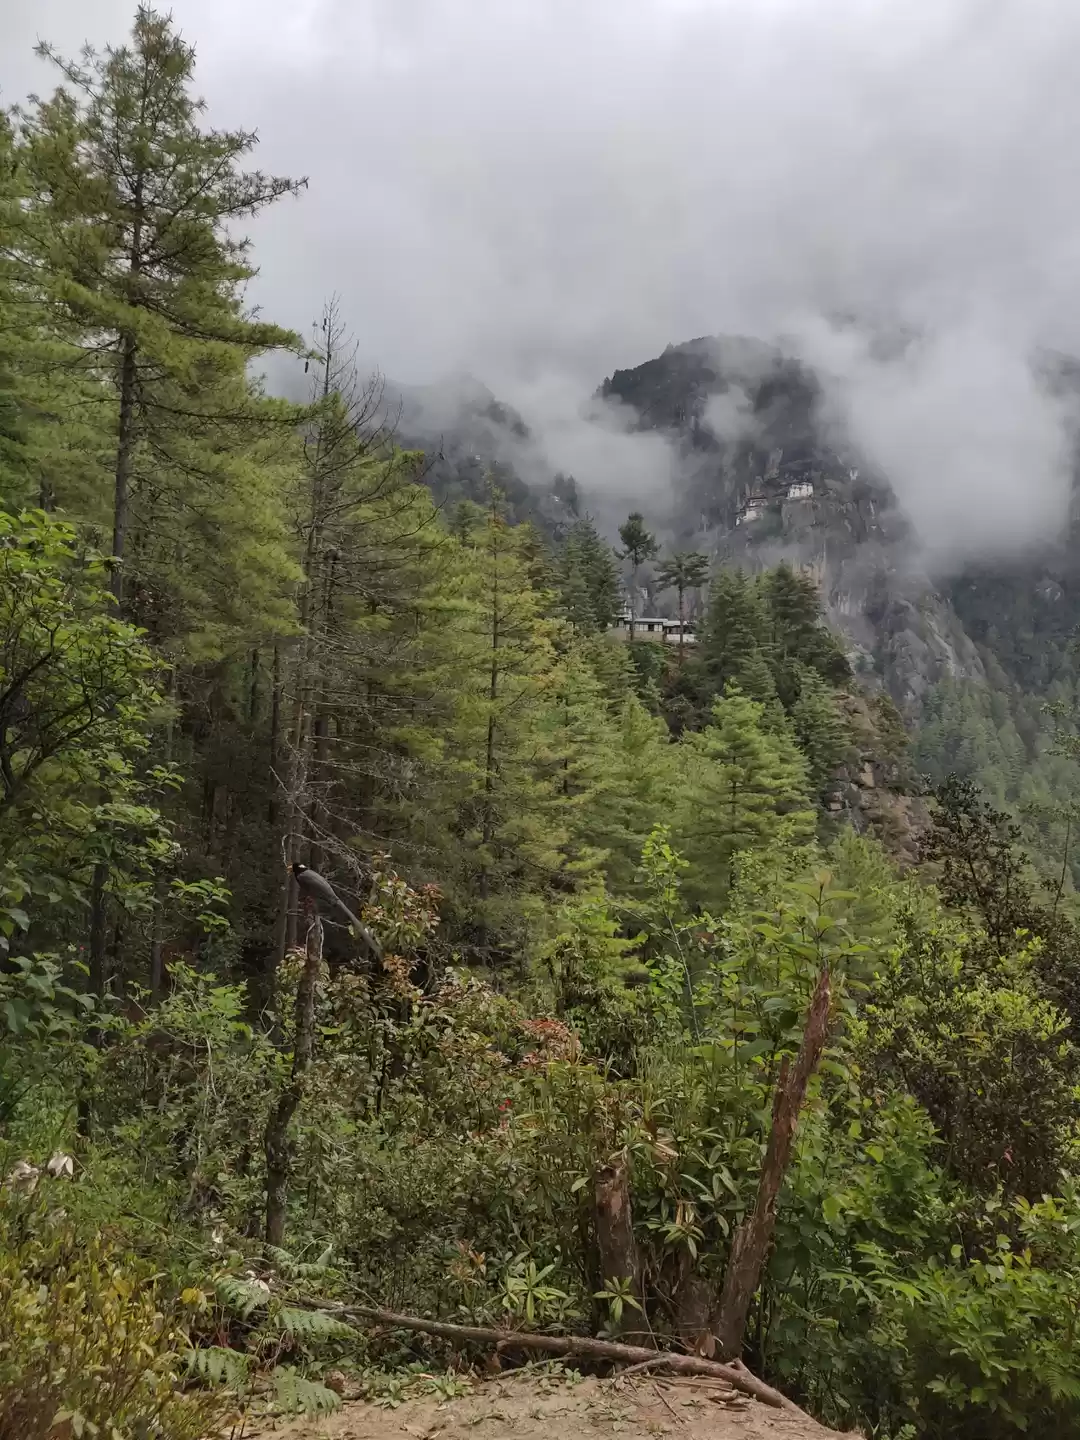
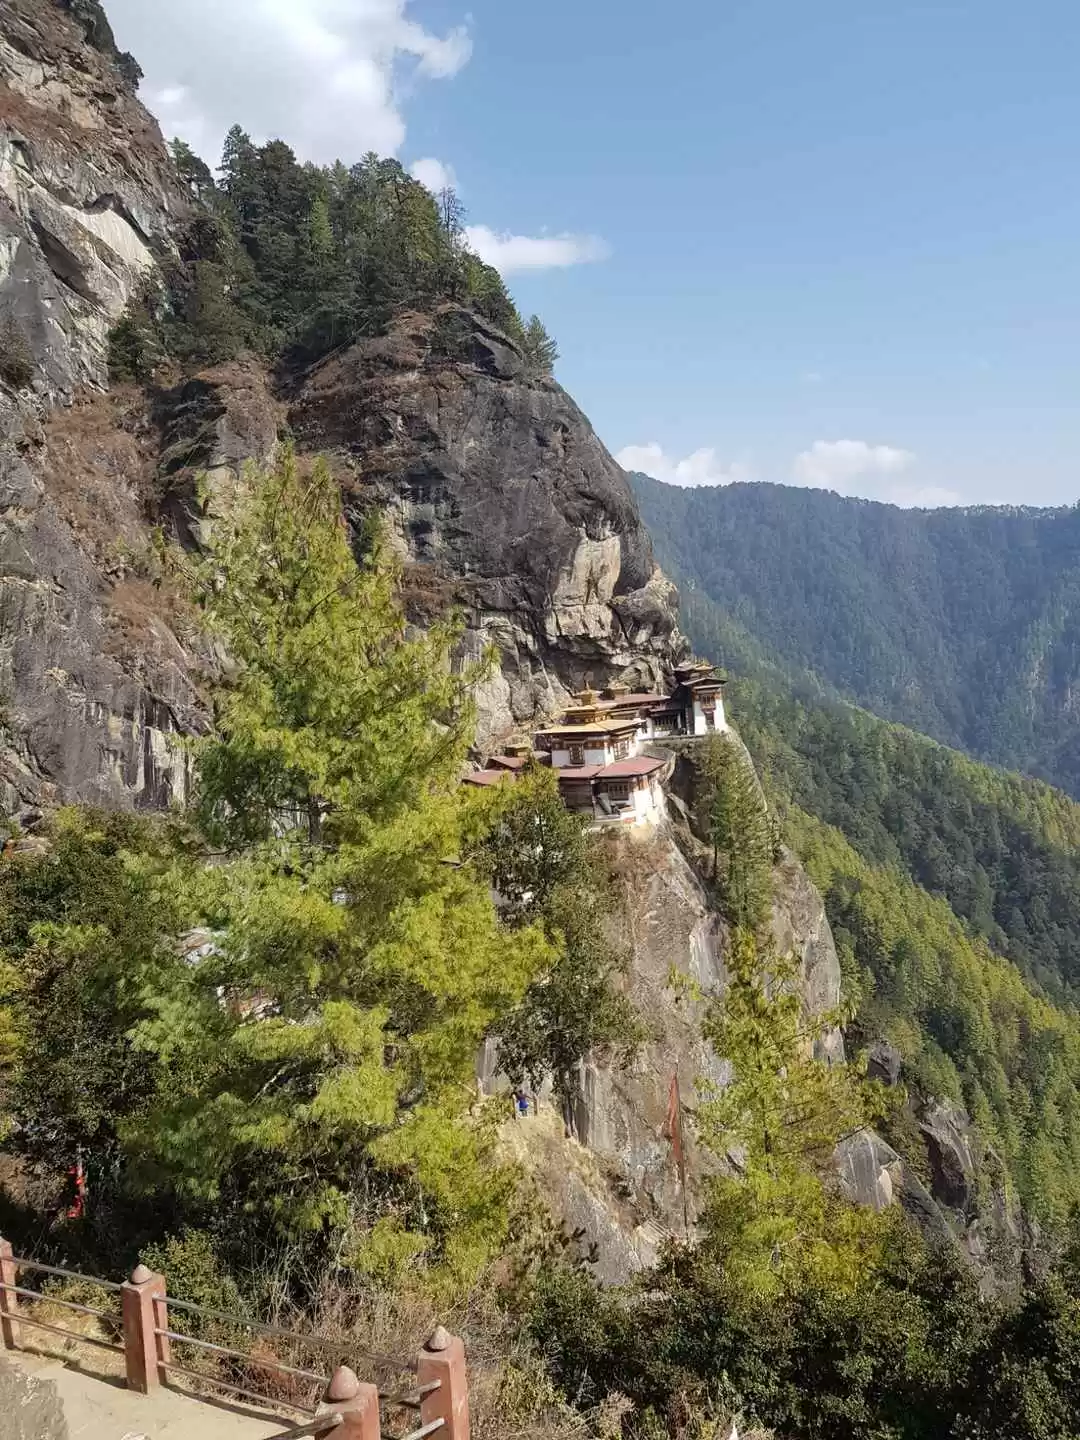
The path is muddy, uneven and steadily raises upwards – nothing too steep though. I was walking at my own pace and took breaks to catch my breath and admire the scenery. The views are stunning, to say the least.

I am moderately fit, but the altitude does make it a little difficult to breathe. Lot of people passing us on their way down kept encouraging us forward with “You can do it! Almost there!” – That was sweet of them, but no, we were nowhere near the halfway point!
Sometimes, the trail became flat – I cannot begin to describe how good it felt! Ah! The small joys of life, eh?

Mid-Point
There is a café mid-way during the trek. People choose to stop here, while some take a quick break before continuing. The horses drop off the people here, and the rest of the way needs to be covered on foot.


View-point
Just before reaching the famous vantage point (where all the pictures of the monastery is taken from) – there is a “mini” view-point, if I may say so. Sight for sore teary-eyes. Yes! I was in tears (maybe due to exhaustion! Ha-ha Sob-sob).
I was pinching myself and could not believe I was seeing this place in person. So beautiful!
The last mile
There are stairs which go down from the view-point – what a blessing, right? I did not realize that I would need to climb these on the way back! Oh well, that is for later. The last bit is a little difficult since we had to climb stairs to reach the monastery.

The Monastery
Phones and cameras are not allowed inside the monastery. There are locker facilities available.
I am not sure if it was due to the HIIT workout due to the trek or the vibes inside the monastery – but I have never felt so good! What a high - I was feeling happy and calm and spiritual, all at the same time! The monastery is stunning and we spent a good 45minutes to an hour here. I even found some time to mediate – very calm and peaceful.

The Way Back
Nobody talks about the way back! At least in the blogs I had read. There are at least 1000 steps to climb and I had to use every ounce of my will-power to not give up and just sit on the stairs forever! I gritted my teeth and finished the climb as fast as my poor legs could take me. The rest of the way is easy since it is all downhill! The rented sticks/poles were very useful, yet again.

A quick stop by the café for some hot chai, biscuits and cute company.
We started the trek around 9AM and were back to the parking lot at 3PM – 6 hours overall, not bad at all.
And through all the way down, passing by weary trekkers, it was my turn to say - “You can do it! Almost there!” I felt happy encouraging my fellow trekkers - everyone should visit this stunning monastery – Absolutely worth the trek!

